Beam angle is not a promise that a fixture will light a room evenly. It describes the central spread of luminous intensity, while mounting height, beam shape, lumen output, spacing, optics, surface reflectance, and the photometric file decide the actual light distribution.
The North Carolina solid-state lighting guidance defines beam angle using the 50 percent intensity point in a plane through the nominal beam centerline. CIE TN 010:2019 adds the measurement discipline behind directional light sources, including optical beam axis, centre beam intensity, and beam-angle determination. For LED buyers, the practical conclusion is that beam angle must be read with IES photometric data, not as a standalone coverage number.
Key Takeaways
- Beam angle usually describes the angular spread around the central beam; it does not show uniformity, glare, field angle, or usable task illuminance by itself.
- Mounting height turns beam angle into a footprint estimate, but spacing, optics, lumen output, and surface reflectance decide whether that footprint is useful.
- Narrow beams can create high intensity and dark gaps; wide beams can create coverage but may reduce center intensity or increase spill.
- Fanxstar buyers should request IES files, mounting height, spacing assumptions, optics, sample evidence, and DIALux or layout support before approving beam angle.
What beam angle means in LED lighting
Beam angle is a photometric measurement, not a room result
The common definition uses the points where luminous intensity falls to 50 percent of the maximum. That is why beam angle is often connected to full width at half maximum language. The definition is useful, but it is still only one measurement. It does not tell the buyer how much light reaches the work surface, how uniform the site will be, or whether glare will be acceptable.
The CIE technical note on beam angle is useful because it frames beam angle as a measurement problem involving optical axis and intensity distribution. The buyer should therefore ask for the photometric file, not just the catalog angle. A 60 degree claim without an IES file is weaker than a 90 degree claim with a complete distribution file and layout evidence.
A buyer should also separate beam angle from field angle. Beam angle usually describes the brighter central region, while field angle or spill can show a wider visible area. If a supplier uses those terms loosely, the buyer may overestimate coverage or underestimate glare.
Beam angle changes coverage through mounting height
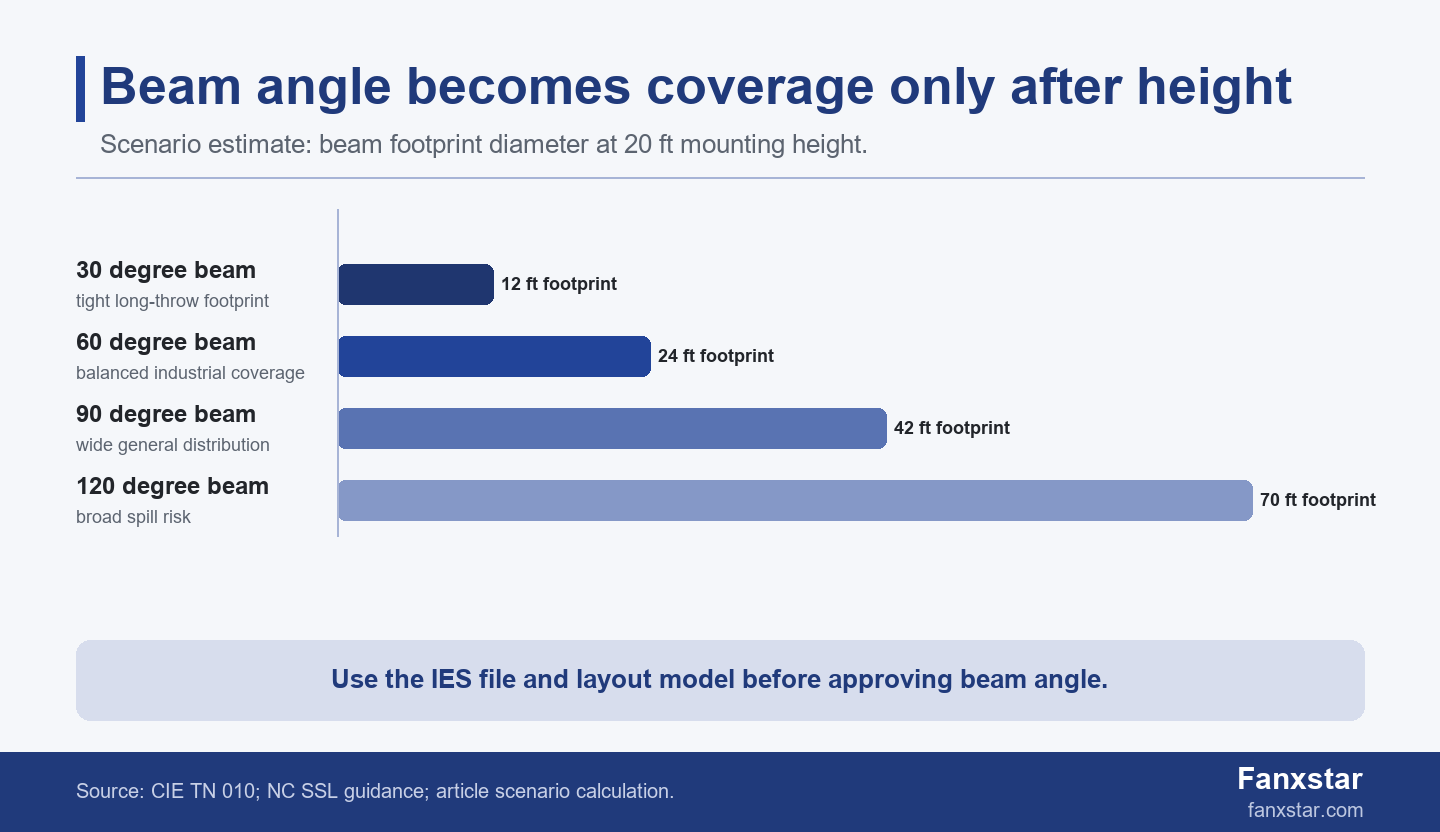
A simple scenario estimate helps. Under an ideal symmetric-beam assumption, footprint diameter is roughly 2 x mounting height x tangent of half the beam angle. At 20 ft mounting height, a 60 degree beam creates a footprint near 23 ft across, while a 120 degree beam creates a footprint near 69 ft across. This is not a final lighting design. It is a first-pass warning that the same angle behaves very differently at different heights.
The limitation is important. Real fixtures are not perfect cones, and many industrial luminaires have asymmetric, batwing, oval, or lens-shaped distributions. Reflectance, rack height, aisle width, mounting tilt, and obstruction can change the result. The estimate is useful only to decide whether the buyer needs a layout study before sample approval.
| Beam angle | Typical buyer assumption | Better procurement question |
|---|---|---|
| 30 degrees | high intensity and long throw | Is the target area narrow enough to avoid dark bands? |
| 60 degrees | balanced industrial coverage | What spacing and mounting height keep uniformity acceptable? |
| 90 degrees | wide general lighting | Will glare or spill reduce useful task visibility? |
| 120 degrees | broad coverage | Does the layout still have enough center intensity and control? |
How beam angle affects layout decisions
Narrow beams solve reach but can create spacing risk
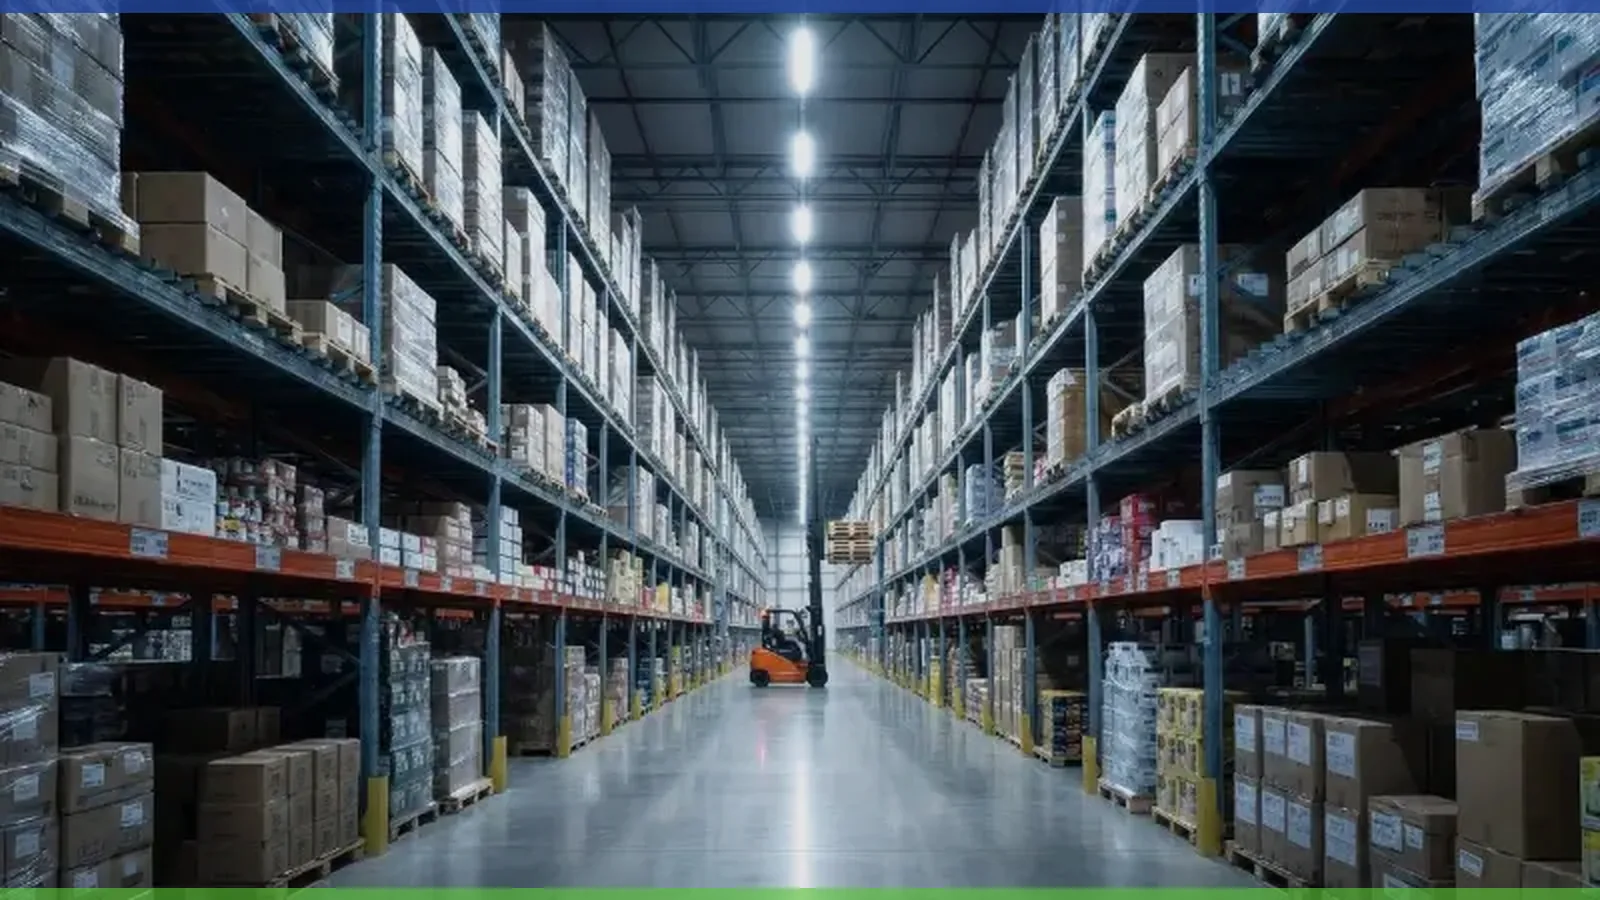
A narrow beam can push more intensity toward a target area, which is useful for high mounting, accent tasks, long throw, or focused illumination. The risk is that the space between fixtures can become uneven. In aisles, tunnels, cold rooms, and warehouses, dark bands or high contrast can be more disruptive than a slightly lower average lux level.
According to DOE LED basics, LED performance should be understood through system behavior. In beam-angle terms, the system includes lens, reflector, LED board, driver output, mounting height, spacing, and the surface being lit. The beam is not a separate accessory decision.
Ask the supplier to show spacing assumptions. If a product is recommended for 20 ft mounting height and 30 ft spacing, the buyer should ask what uniformity and minimum illuminance the recommendation assumes. Without that, the beam angle is only a catalog descriptor.
Wide beams improve coverage but can lose control
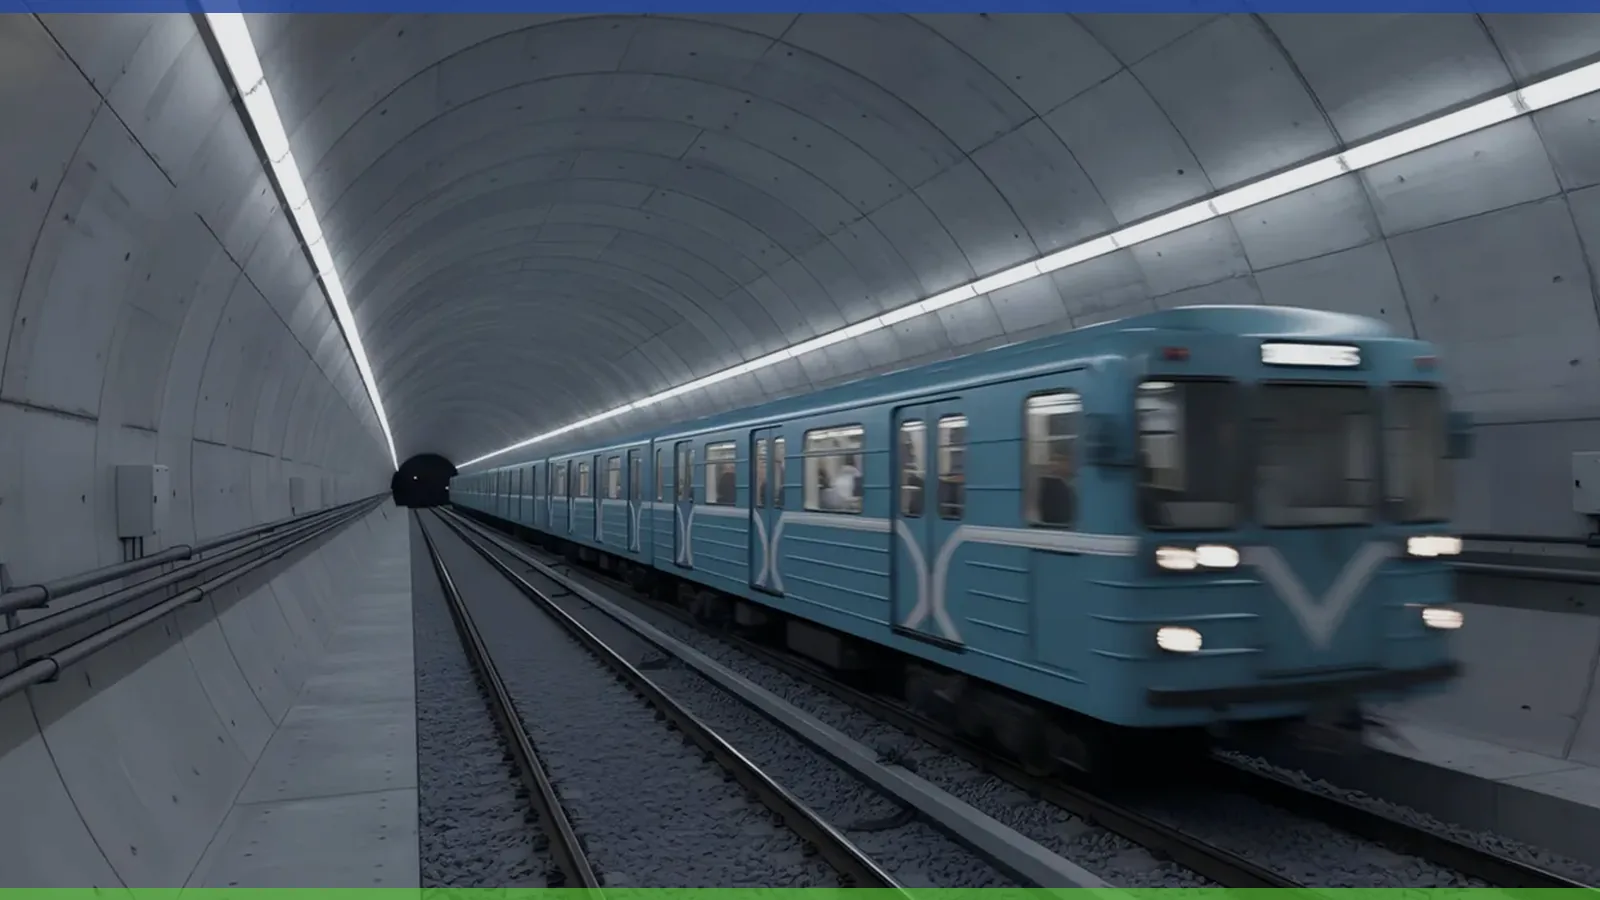
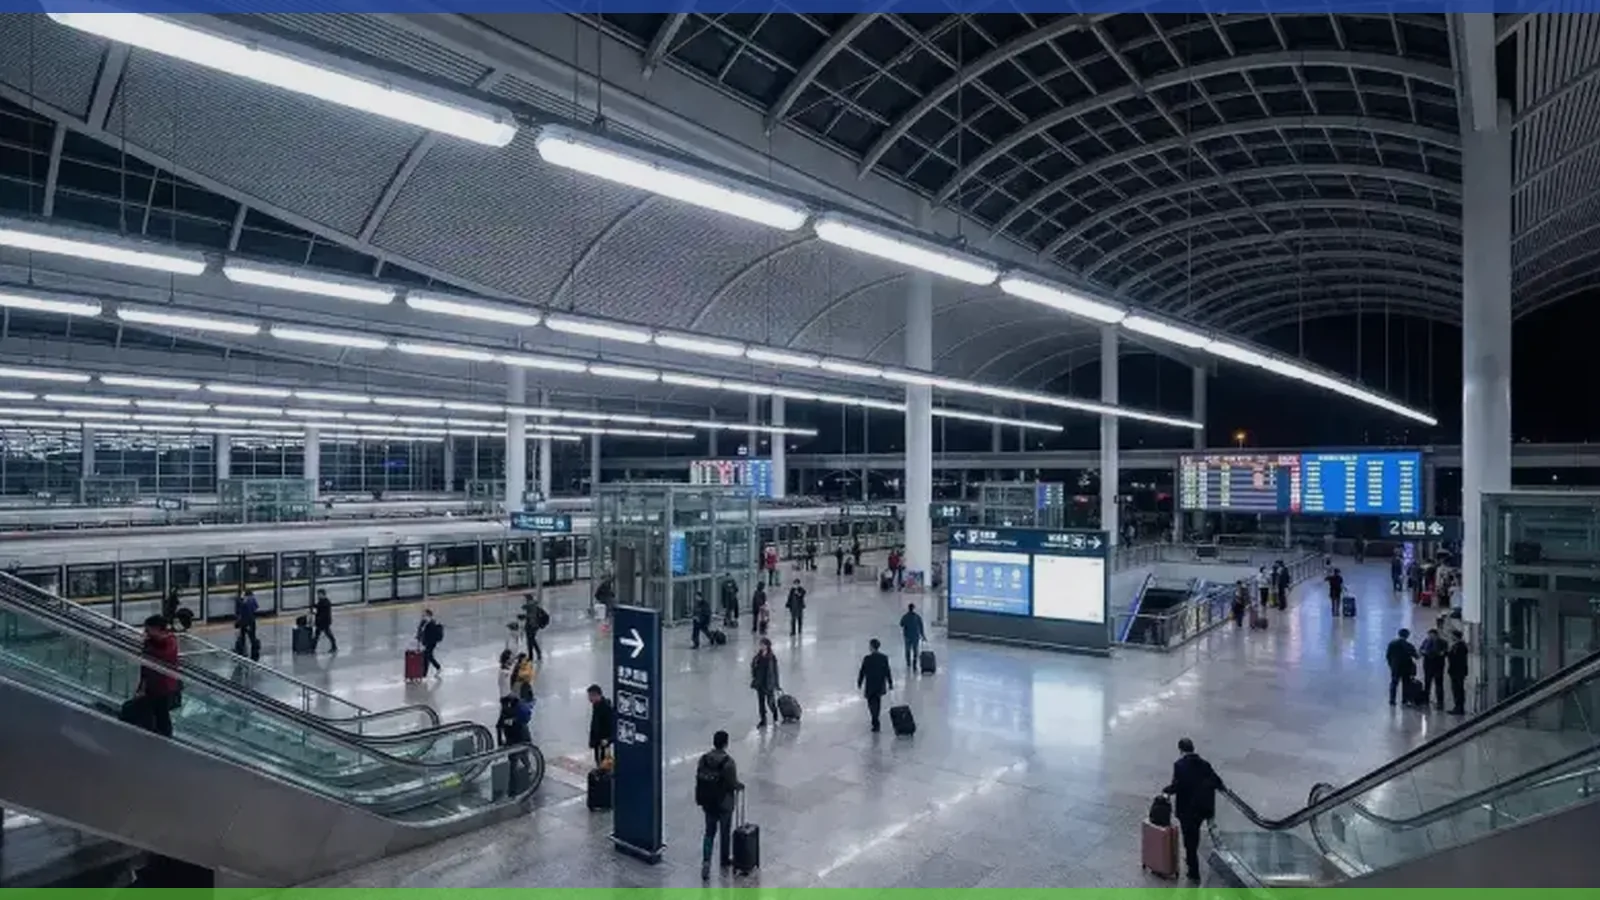
A wide beam can reduce dark gaps and create broader ambient coverage, but it can also spread light where it is not useful. In parking garages, tunnels, retail aisles, or data hall service corridors, spill and glare may hurt visibility even when the average light level looks acceptable. The buyer should ask where the useful light lands.
DLC solid-state lighting technical requirements and FEMP LED luminaire purchasing guidance support a product-level evidence view. For beam angle, that means the buyer should check photometric files, distribution type, lumen output, wattage, fixture category, and intended application together.
What evidence to request before approving beam angle
The IES file is stronger than a catalog diagram
A catalog beam diagram is a helpful preview, but an IES file or photometric report is more useful for design. It lets the buyer simulate spacing, mounting height, and target surfaces. If a supplier cannot provide photometric data for the exact fixture version, the buyer should treat the beam angle as a rough claim rather than a layout basis.
According to IEA 4E SSL Annex LED product tiers, LED product evaluation includes quality and performance requirements rather than one isolated value. Beam angle belongs in that broader evidence file. A good RFQ asks for beam angle, luminous flux, input power, CCT, CRI, optics, driver, IES file, and mounting recommendation.
A buyer can use a 3-step screen: first, check whether the angle is plausible for the mounting height; second, ask for the IES file; third, run a layout or sample test in the target geometry. This sequence catches many weak beam-angle claims before production.
Do not separate beam angle from glare and maintenance
According to GSA LED and controls guidance, lighting choices should consider life-cycle cost and controls behavior. A beam angle that looks efficient at installation can become a maintenance problem if glare forces dimming, if dust changes distribution, or if replacements use a different optic.
The buyer should ask whether the optic is locked for production. If the supplier changes lens, diffuser, LED board, or housing, the beam angle and distribution may change even when the model name looks similar. For repeat orders, the product file should record the optic version and photometric file date.
According to International Trade Administration import documentation guidance, commercial shipment files can include invoices, packing lists, and certificates. Lighting buyers should keep photometric files and approved optic versions in the same order packet, especially when the beam angle is part of the purchase decision.
The decision rule is to approve distribution, not the angle label
The decision rule for B2B procurement is to approve distribution, not the angle label. A 60 degree fixture can fail if the aisle spacing is too wide, and a 90 degree fixture can fail if glare makes the task uncomfortable. The label gives a starting hypothesis; the layout, IES file, and sample decide whether the hypothesis is true.
According to CIE TN 010:2019 beam-angle guidance, beam-angle measurement depends on optical axis and luminous-intensity distribution. This means a buyer should be careful when comparing 2 suppliers that use different optics, measurement files, or diagrams. A catalog drawing is not enough when the fixture will be used for safety routes, inspection tasks, parking decks, tunnels, or high-bay aisles.
In practice, use 4 gates before freezing the optic: first, check the claimed beam angle against mounting height; second, compare the IES file with the drawing; third, run a layout for at least 1 representative zone; fourth, approve a physical sample under the intended mounting condition. If the project has 3 ceiling heights or 2 aisle widths, document those cases instead of assuming one beam angle covers all of them.
A practical rule is to require written review for lens, diffuser, LED board, reflector, and housing changes. These 5 parts can alter beam behavior even when wattage and CCT stay the same. The buyer does not need to become a photometric engineer; the buyer needs a stable approval file that prevents quiet optical substitutions.
This means the buyer should define the success metric before asking for a beam angle. In a warehouse aisle, the success metric may be minimum lux and uniformity between racks. In a tunnel, it may be route continuity and glare control. In a retail backroom, it may be practical visibility at lower mounting height. The same 90 degree label can support one metric and fail another, so the RFQ should name the target plane, mounting height, spacing range, and any glare-sensitive work zone.
According to SBA import and export law guidance, international buyers should understand the rules that affect overseas transactions before the sale. For beam angle, the same discipline applies inside the technical file: the buyer should know which performance claim is contractual, which file proves it, and who approves changes before the next 500-unit order is produced.
Where Fanxstar fits beam-angle decisions
Use the application to choose the optical path
Fanxstar beam-angle decisions should start with the application: parking garage LED lighting solutions, tunnel LED lighting solutions, AI data center LED lighting solutions, LED linear lighting platform, and custom LED lighting design options. Each scene has a different balance of spread, glare, mounting height, service access, and control zoning.
A parking garage may need broad coverage and sensor behavior. A tunnel may need linear continuity and emergency route visibility. A data hall may need service-corridor visibility without unnecessary glare. A retail backroom may accept a wider distribution if the task plane is forgiving. These are not the same beam-angle problem.
For a Fanxstar ODM request, include mounting height, target area, spacing, ceiling or wall condition, fixture orientation, desired CCT, control mode, and whether an IES file or DIALux support is required. That lets the team recommend optics as part of the fixture platform rather than guessing from a single angle number.
Use a sample gate when beam angle affects the buyer promise
If beam angle affects safety, display quality, task visibility, or energy savings, use a sample gate. The gate should compare the approved sample, IES file, optic version, and layout assumption. If the sample looks different from the simulated file, hold approval until the supplier explains why.
According to International Trade Administration special documents guidance, some product categories need special documents tied to standards or safety. Beam angle is not usually an import certificate field, but it is still part of the product evidence file when distribution performance is promised to the buyer.
The final RFQ should state: do not change optic, diffuser, LED board, or housing geometry without written review. That one sentence protects the layout from quiet substitutions.
FAQ
What is beam angle in LED lighting?
Beam angle is the angular spread of the main beam, commonly defined by the points where intensity falls to 50 percent of the maximum. It helps describe distribution, but buyers still need mounting height, spacing, lumen output, and photometric data to predict the real layout.
Is a wider beam angle always better?
No. A wider beam can improve coverage, but it may reduce center intensity or increase spill and glare. The better choice depends on mounting height, spacing, task plane, surface reflectance, and whether the site needs uniform ambient light or focused task light.
How do you estimate beam footprint?
A simple estimate is footprint diameter equals 2 times mounting height times tangent of half the beam angle. This assumes a symmetric ideal beam, so it should only be used as an early screen. Real projects still need photometric files and layout modeling.
What should buyers request from an LED supplier?
Request beam angle, IES file, lumen output, wattage, optics version, CCT, CRI, mounting height recommendation, spacing assumption, and a rule that optics or lens changes require review. For critical layouts, ask for DIALux or equivalent simulation support.