Key Takeaways
-
Structural Integrity: Always use Grade 304 stainless steel mounting brackets and expansion anchors to secure fixtures against concrete vibrations and weight.
-
Safety Priority: Isolation of power at the main circuit breaker and the use of a non-contact voltage tester are mandatory before any wiring begins.
-
Weatherproofing: Tightening waterproof cable glands and utilizing integrated silicone sealing rings is critical for maintaining IP65/IP66 ingress protection.
-
Wiring Efficiency: Modern tri-proof lights support “Loop-in/Loop-out” wiring through 923 or PA16 terminal blocks, enabling continuous lighting runs.
-
Maintenance Protocol: Periodic cleaning and visual inspections of seals every six months extend the luminaire’s operational lifespan in harsh environments.
Surface mounting tri-proof LED luminaires on concrete ceilings is a standard procedure in industrial environments, such as parking garages, transit tunnels, and warehouses. However, achieving a secure and compliant installation requires more than just basic drilling. Based on Fanxstar’s technical engineering manuals, this guide provides a professional framework for technicians to ensure durability, electrical safety, and optimal thermal management. By utilizing the correct hardware and following systematic mounting procedures, you can guarantee a professional finish that stands up to the mechanical and environmental stresses of heavy-duty industrial use.
Surface Mounting Essentials: Tools and Component Selection
Hardware Checklist
The longevity of your lighting system depends heavily on the quality of the mounting hardware. In damp or high-humidity environments, standard carbon steel screws will quickly corrode, potentially leading to fixture detachment. We recommend the following specialized materials:
-
Brackets: Grade 304 Stainless Steel for superior corrosion resistance.
-
Anchors: Heavy-duty M6 or M8 expansion anchors designed for high-density concrete.
-
Terminal Blocks: Integrated 923, PA14, or PA16 blocks for secure electrical termination.
-
Sealing: High-temperature silicone rubber plugs for all unused entry points.
|
Fixture Feature |
Required Specification |
Impact on Installation |
|---|---|---|
|
Ingress Protection |
IP66 or IP69K |
Protects internal electronics from concrete dust and moisture. |
|
Impact Rating |
IK10 |
Ensures the housing remains intact under mechanical stress. |
|
Cabling Entry |
Waterproof Gland (M20/M25) |
Guarantees a vapor-tight seal at the wiring entry point. |
|
Operating Temp |
-20’C to +50’C |
Maintains stability across seasonal temperature fluctuations. |
Safety Protocols and Pre-Installation Preparation
Electrical safety is non-negotiable. Before any technician ascends a ladder or scaffolding, the work area must be secured. This includes isolating the power at the distribution board and utilizing Personal Protective Equipment (PPE) to mitigate the risks associated with drilling into concrete, such as airborne silica dust and falling debris. For more details on site safety standards, refer to OSHA-compliant PPE guidelines.
Electrical Isolation Routine:
-
Switch off the breaker and apply a “Lock-Out Tag-Out” (LOTO) device.
-
Verify the absence of voltage at the fixture junction using a calibrated tester.
-
Route supply cables through protective conduit where exposed to prevent abrasion against sharp concrete edges.
Step-by-Step Guide: Linear Tri-proof Installation
1. Precise Marking and Boring
Concrete is unforgiving; an incorrectly drilled hole can weaken the structural mounting point. Measure the “Fixing Center” distance of your tri-proof LED light. Use a laser level to ensure a straight run across the ceiling. Bore the holes using a hammer drill with a carbide-tipped bit, ensuring the depth exceeds the anchor length by at least 10mm to allow for dust clearance.
2. Securing Mounting Brackets
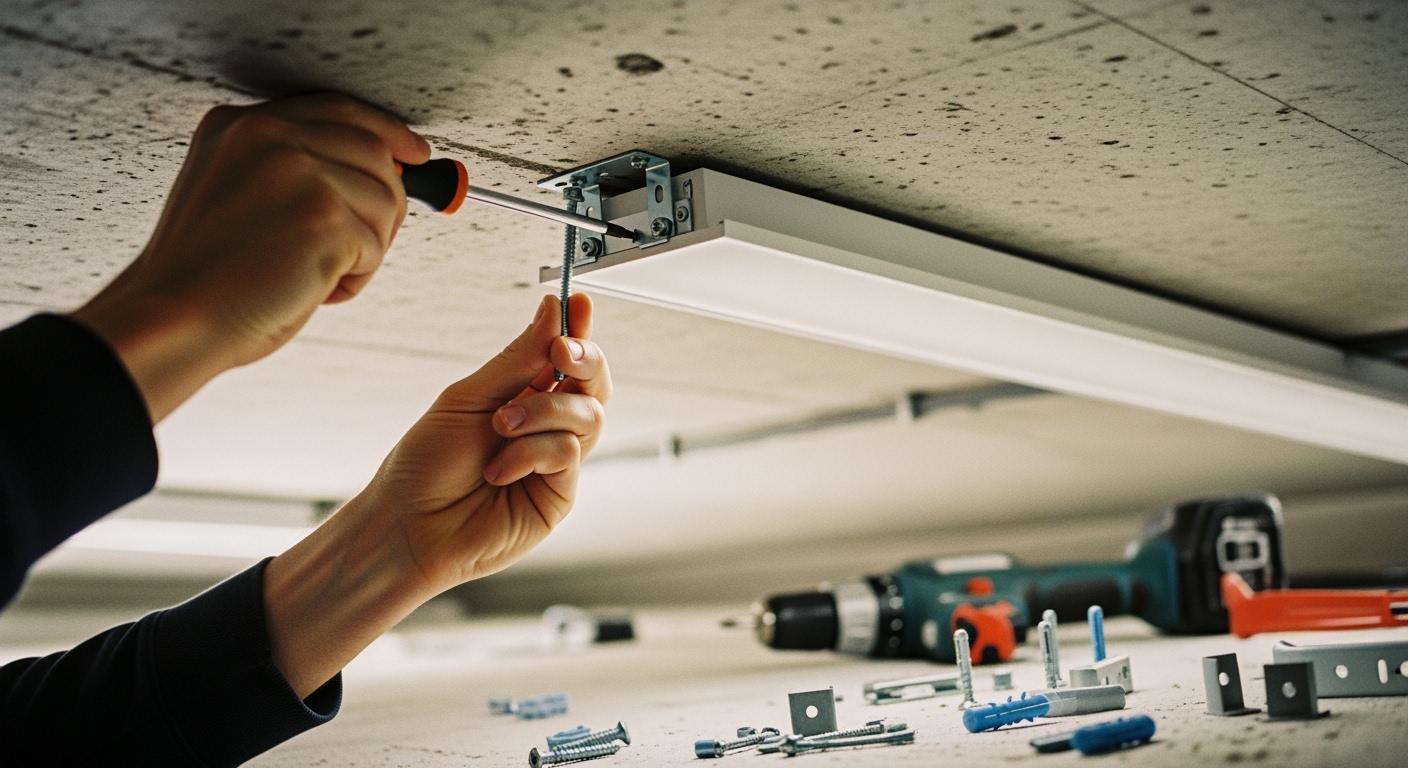
Insert the expansion plugs and tap them flush with the concrete surface. Align the stainless steel brackets and drive the screws until they are firmly seated. For Fanxstar’s Batman B2 series, ensure the brackets are positioned to engage the anti-theft locking mechanism, which prevents unauthorized removal in public transit zones.
3. Professional Wiring: Loop-in and Loop-out
For industrial facilities requiring long runs of light, the “Loop-in/Loop-out” method is most efficient. Fanxstar luminaires feature dual-end input capability. By utilizing the integrated PA16 terminal blocks, you can connect the next light in the series directly from the first, reducing the total amount of copper wiring required and simplifying the circuit layout.
|
Wiring Type |
Terminal Configuration |
Recommended Application |
|---|---|---|
|
Single-End |
Live, Neutral, Earth |
Individual workstations or small closets. |
|
Series Linking |
L, N, E (Input) + L, N, E (Output) |
Long corridors and large parking areas. |
|
Dimmable (DALI) |
L, N, E + DA, DA |
Smart buildings with automated light management. |
Installation Guide for Circular Bulkhead Lights
Circular bulkheads, such as the Fanxstar Clite C300, require a slightly different approach. These units often act as the primary emergency exit lighting in stairwells. The C300 features an “anti-drop rope,” allowing the installer to hang the fixture body from the mounting base while performing wiring tasks—a vital safety feature when working at height.
Wiring the Bulkhead:
Pierce the specialized silicone entry gland with a screwdriver to create a tailored hole for the input wire. This ensures a snug fit that prevents moisture ingress. Once the wiring is terminated into the terminal block, rotate the fixture body onto the base until the “click” confirms the waterproof seal is engaged and the unit is locked.
“A secure installation is the foundation of electrical safety. By prioritizing high-grade anchors and vapor-tight sealing, we ensure that industrial lighting remains reliable for decades.”
Common Troubleshooting Scenarios
Despite careful planning, installers may encounter issues on-site. Addressing these promptly prevents long-term maintenance headaches.
-
Flickering LEDs: Often caused by a loose neutral connection in the terminal block or a voltage drop in excessively long series runs.
-
Moisture within the Lens: This usually indicates that the cable gland was not tightened sufficiently or a rubber plug was missing from an unused entry point.
-
Fixture Sagging: Occurs when anchors are unsuitable for the concrete grade. Switch to chemical anchors or larger diameter expansion bolts if the concrete is brittle.
Maintenance Strategy for Concrete-Mounted Lights
To maintain peak luminous efficacy, luminaires should be cleaned every six months. In environments with heavy dust or exhaust fumes, a quarterly schedule is recommended. Use a soft microfiber cloth and a pH-neutral detergent; avoid abrasive pads that can scratch the polycarbonate lens and reduce light transmission. During each cleaning, visually inspect the stainless steel clips for any signs of mechanical fatigue.
Frequently Asked Questions (FAQ)
Can I mount tri-proof lights directly to concrete without brackets?No. Mounting brackets are essential for creating a small air gap between the fixture and the concrete, which helps with thermal management and allows for minor structural shifts without cracking the fixture housing.
What is the best way to ensure the light is 100% waterproof?Beyond the fixture’s IP66 rating, the installer must ensure the cable gland is tightened with a wrench (not just finger-tight) and that the power cable forms a “drip loop” before entering the fixture to prevent water from running along the wire into the gland.
How many tri-proof lights can I link in a single run?This depends on the wattage of the lights and the gauge of your supply wire. For standard 40W fixtures on a 2.5mm² wire, you can typically link up to 15-20 units. Always refer to the Fanxstar technical datasheet for the specific maximum linking quantity.
Is it safe to drill into pre-stressed concrete ceilings?Drilling into pre-stressed concrete requires extreme caution to avoid hitting tensioned cables. Always consult the building’s structural drawings and use a high-quality rebar/cable detector before drilling.
Do Fanxstar tri-proof lights come with mounting hardware?Yes, Fanxstar professional series luminaires include a full set of stainless steel 304 mounting brackets, screws, and expansion anchors to ensure a safe and standardized installation.
In conclusion, a successful surface mounting project on concrete requires a combination of high-quality hardware and meticulous attention to detail. By following this professional guide, you ensure that your Fanxstar LED solutions are installed safely, providing reliable, high-performance illumination for years to come. For complex projects involving RF grouping or specialized emergency systems, contact our technical support team for customized installation layouts.