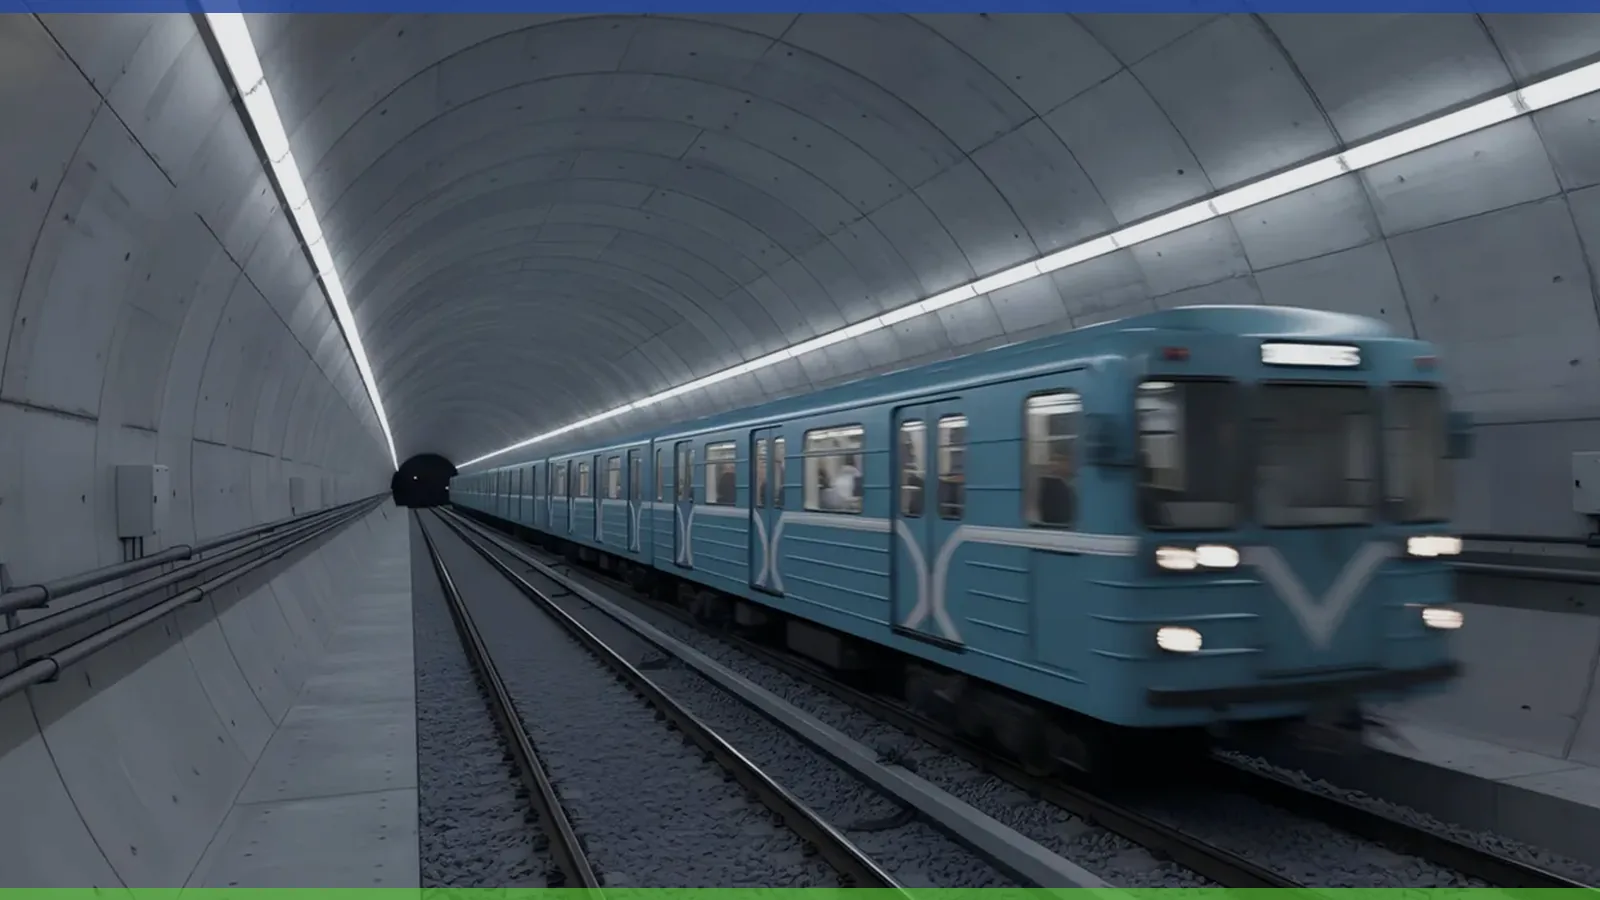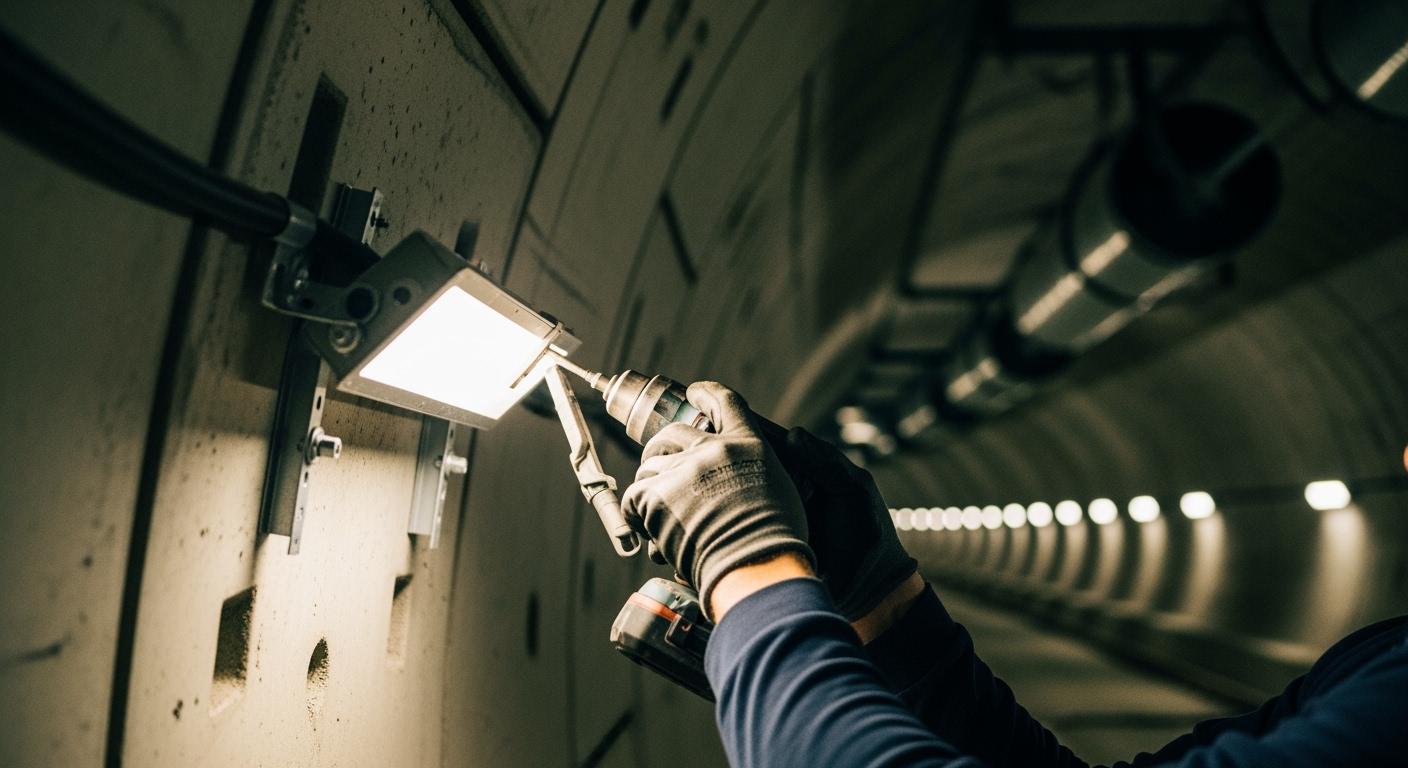
Tunnel lighting is one of the most demanding sub-sectors of infrastructure engineering. Unlike standard indoor or outdoor lighting, tunnel luminaires must withstand the “piston effect” (massive air pressure fluctuations from passing vehicles), high humidity, road salt corrosion, and constant vibration. When the project involves curved walls, the complexity doubles. Standard straight-mount fixtures will create “chord” gaps against a radius, leading to aesthetic poorness and structural instability. Professional secure mounting is therefore the difference between a system that lasts 20 years and one that fails in six months.
This guide analyzes the mechanical requirements, material science, and installation protocols for fixing luminaires to curved tunnel geometry, focusing on structural stability and long-term safety.
Key Takeaways
-
Radius Management: Utilize segmented linear fixtures or flexible strips to avoid gaps and “chording” on curved surfaces.
-
Vibration Resistance: All mounting hardware must be rated for high-vibration environments to counteract the air pressure pulses from heavy traffic.
-
Material Science: Use 316-grade stainless steel for all brackets and fasteners to prevent rust from road salts and exhaust fumes.
-
Fixation Method: Self-drilling hollow bolts (SHGB) are superior for rock or concrete tunnel walls compared to standard expansion shells.
-
Theft & Vandalism: Integrated security hardware and hidden wiring are mandatory for public utility tunnels to prevent tampering.
Engineering Challenges of Curved Tunnel Fixation
Addressing the “Piston Effect”
In a tunnel, every vehicle acts like a piston in a cylinder, pushing air forward and pulling it back. This creates constant, cyclical pressure waves that can loosen standard screws over time. Secure mounting systems for tunnels must prioritize high-torque fasteners and thread-locking compounds. For curved walls, the fixtures often sit at an angle where these air pulses can “catch” the edge of the fixture, making aerodynamics a secondary but vital consideration in bracket design.
Geometric Conformity
When mounting a 4-foot linear fixture to a wall with a 10-meter radius, the center of the fixture will stand off from the wall, or the ends will stick out. Professional tunnel lighting relies on either highly flexible LED strips or shorter, modular “segments” that follow the arc of the radius. This ensures that the secure mounting points are in direct contact with the substrate, distributing the load evenly.
|
Anchorage Type |
Mechanism |
Suitability for Curved Walls |
|---|---|---|
|
Hollow Bolts (SHGB) |
Continuous bonding / Chemical resin |
Excellent (Uniform stress transfer) |
|
Expansion Shells |
Mechanical friction / Point loading |
Poor (High stress concentration) |
|
Adhesive Channels |
Surface bonding / VHB tape |
Excellent for lightweight LED strips |
Mechanical Fixation: Brackets and Anchors
Self-Drilling Hollow Bolts vs. Expansion Bolts
Research published in scientific journals on tunnel support highlights that traditional expansion bolts often fail in high-moisture or soft-rock conditions. For permanent lighting, self-drilling hollow bolts (SHGB) are the benchmark. They allow for a chemical resin to be injected into the hole, creating a 360-degree bond between the bolt and the tunnel wall. This provides the ultimate level of structural integrity, especially when fixtures are mounted horizontally on a curve.
Stainless Steel Brackets (316 Grade)
In tunnels, 304-grade stainless steel is often insufficient due to the presence of chlorides from road salt. Secure mounting systems should always specify 316-grade stainless steel. Fanxstar’s bracket systems are designed with adjustable “slotted” holes, allowing installers to compensate for slight variations in the tunnel radius without redrilling. This flexibility is essential for maintaining a perfect visual line of light.
Flexible Systems: LED Strips and Modular Segments
Adaptive Channels
For architectural tunnel accents or pedestrian utility tunnels, flexible LED strips are often preferred over rigid high-bays. These are housed in flexible aluminum or polycarbonate channels that can be bent to match the wall’s radius. The secure mounting of these channels often utilizes a combination of mechanical clips every 30cm and high-strength industrial adhesive to prevent “peeling” over time.
|
Feature |
Linear Rigid Fixture |
Flexible LED Strip System |
|---|---|---|
|
Radius Adaptability |
Low (Requires short segments) |
High (Follows any curve) |
|
Installation Speed |
Moderate |
Fast (Adhesive + Clip) |
|
Impact Resistance |
IK10 (High) |
IK07 – IK08 (Moderate) |
|
Maintenance |
Modular replacement |
Full strip replacement |
Surface Preparation: Ensuring the Bond
No mounting system—mechanical or adhesive—is effective if the substrate is compromised. Tunnel walls are often coated in a layer of “carbon soot” from vehicle exhausts and calcium deposits from water seepage. Before installation, the following protocol is mandatory:
-
Pressure Washing: Remove all loose debris and road grime.
-
Degreasing: Use industrial-grade isopropyl alcohol (IPA) in areas where adhesive channels will be placed.
-
Inspection: Check for “spalling” concrete. Mounting a heavy fixture to a loose layer of concrete is a primary cause of system failure.
“Mounting a luminaire in a tunnel isn’t just an electrical task; it’s a structural one. The environment is actively trying to shake, corrode, and drown your equipment.”
Fanxstar Solutions: Trilamp and Batman Series
We have engineered our vibration-proof tunnel lights specifically for these environments. The Batman B2 series, for example, features seamless splicing connectors that provide mechanical rigidity between units. When mounted on a curve, these interconnects ensure that the entire run of lights behaves as a single structural element, significantly reducing individual vibration stress on brackets.
Theft and Tamper Protection
In utility and pedestrian tunnels, lighting is a target for vandalism. Our secure mounting kits include “security-head” screws (Torx with pin) that require specialized tools for removal. Furthermore, the A12 series is designed with integrated wiring channels, meaning no loose cables are exposed to the public, preventing tampering and accidental damage.
The Installation Process: A Step-by-Step Guide
-
Marking the Datum Line: Use a laser level or transit theodolite to establish a perfectly level line along the curve. If the tunnel slopes, the lighting must follow the road grade.
-
Drilling and Anchoring: Use an impact drill with depth stops to ensure anchors are set to the exact manufacturer-specified depth.
-
Bracket Fixation: Fix the 316-stainless brackets. Use a torque wrench to ensure every bolt meets the pull-out resistance requirement.
-
Fixture Mounting: Snap the linear or flexible fixtures into the brackets. For rigid fixtures on a curve, ensure the “chord” gap is within acceptable limits.
-
Wiring: Utilize IP66/IP69K rated connectors. In tunnels, even the wiring is under pressure from humidity; every junction must be vapor-tight.
Maintenance and Long-Term Reliability
Tunnel lights should be treated as “fit-and-forget” assets due to the high cost of traffic closures. However, a bi-annual visual inspection is recommended. Look for “salt-blooming” on brackets or any fixtures that show signs of sway. Regular cleaning with specialized tunnel-washing trucks not only improves light output but also removes the corrosive soot that can trap heat and shorten the LED lifespan.
|
Performance Goal |
Technical Requirement |
ROI Factor |
|---|---|---|
|
Energy Efficiency |
> 150 lm/W Efficacy |
Lower utility costs |
|
Structural Longevity |
316 Stainless Steel Brackets |
No replacement for 15+ years |
|
Safety |
IK10 Impact Rating |
Resists vandalism and accidents |
Conclusion
Securely fixing lights to curved tunnel walls is an exercise in balancing geometry with mechanical strength. By prioritizing 316-grade stainless hardware, utilizing advanced anchorage like hollow bolts, and choosing vibration-proof linear fixtures, engineers can create a lighting environment that is safe for drivers and cost-effective for operators. Tunnel lighting is the backbone of infrastructure safety; ensuring it is mounted correctly is the first step in protecting both the public and the investment.
FAQ
What is the minimum IP rating for tunnel lighting?
A minimum of IP66 is required to protect against humidity and pressure washing. For tunnels near coastal areas or those subject to high-pressure cleaning, IP69K is recommended.
How do I handle mounting on a very tight radius?
For tight curves, avoid long rigid fixtures. Use shorter 2-foot modular units or seamlessly linked flexible strips. This minimizes the gap between the fixture and the wall.
Why is vibration such a big deal in tunnels?
Passing trucks create air pressure spikes (piston effect) that literally vibrate the fixtures thousands of times per day. Without vibration-rated mounting, the internals of the LED driver can shake loose, leading to premature failure.
Can I use aluminum brackets instead of stainless steel?
Only if the aluminum is high-grade marine-anodized. Generally, 316-stainless steel is safer because it avoids “galvanic corrosion” when in contact with different metals in a damp tunnel environment.
How do I prevent “glare” for drivers in a curved tunnel?
Use fixtures with specialized asymmetric optics or deep-recessed lenses. On a curve, a driver’s line of sight often intersects with the lights at an angle, making anti-glare design critical for safety.