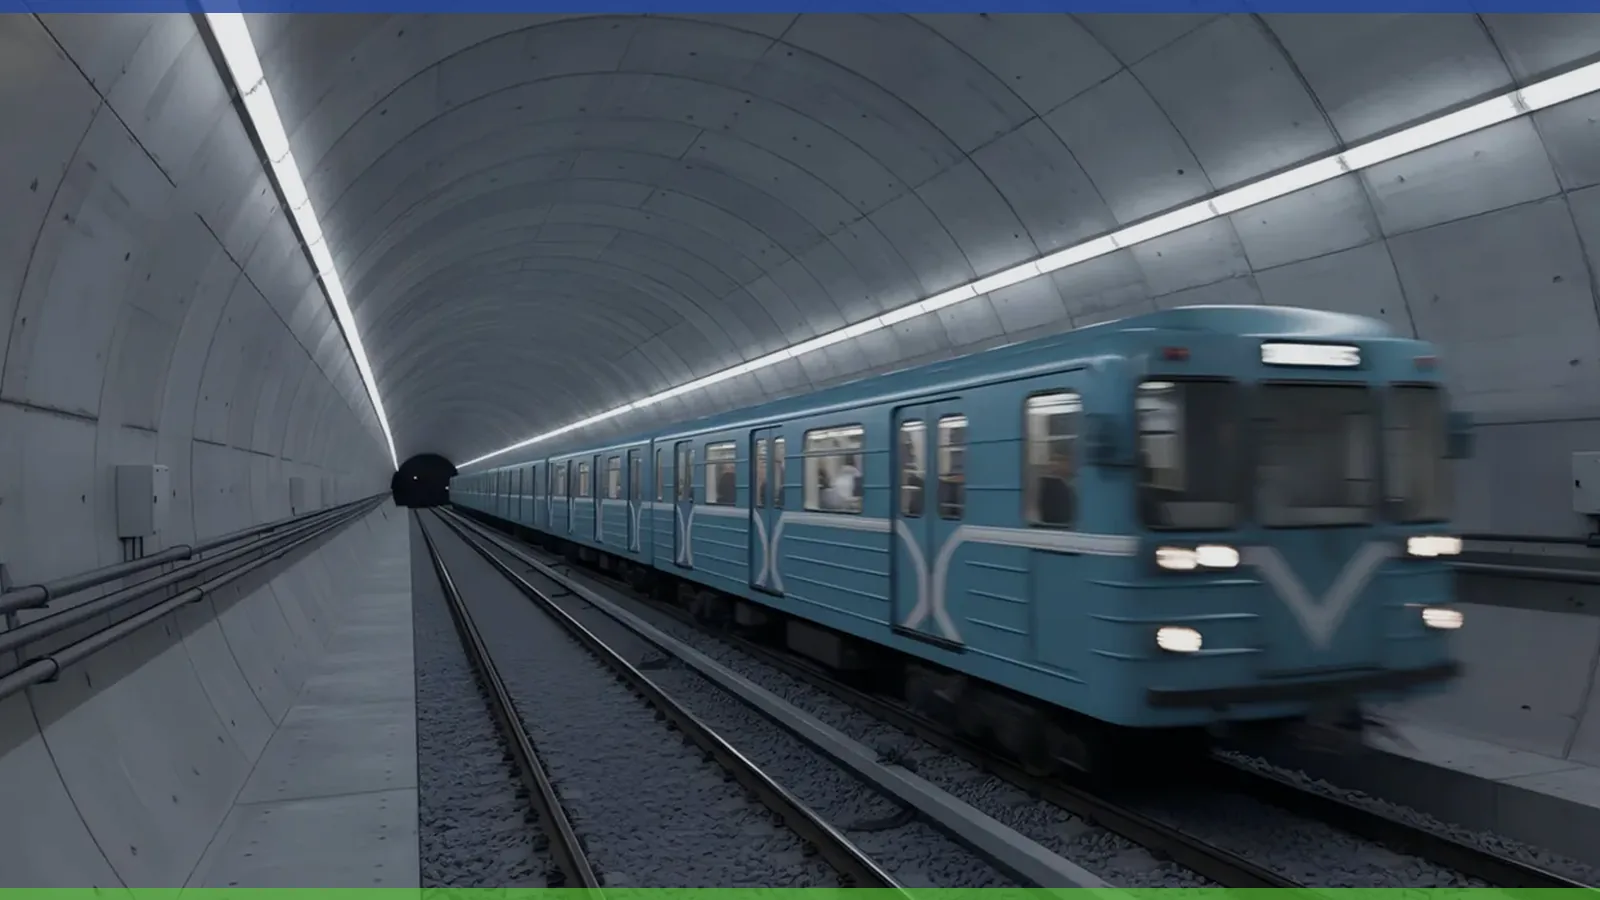
In the industrial and commercial lighting sectors, the procurement process is a high-stakes investment. When a project requires hundreds or thousands of units—whether for a high-vibration railway tunnel, a -40’C cold storage facility, or a high-hygiene food processing plant—relying solely on a glossy brochure is a major technical risk. The “Golden Sample” provided by a manufacturer must be subjected to a rigorous, systematic technical audit. To effectively test an LED tri-proof sample, an engineer or facility manager must look beyond simple illumination. One must analyze the material science of the housing, the stability of the power electronics, and the veracity of the claimed international certifications.
A professional sample evaluation acts as an insurance policy for your project’s Return on Investment (ROI). It identifies potential failure points—such as poor thermal management or inadequate ingress sealing—before they manifest as costly field failures. This guide provides a definitive technical framework for evaluating tri-proof LED samples, focusing on 2026 industry benchmarks and safety standards.
Key Takeaways
-
Mechanical Rigor: Verify the use of AL6063-T5 aluminum and F1-rated polycarbonate for maximum thermal and UV stability.
-
Ingress Protection: Test for the “Vacuum Suction Effect” to ensure seals hold during thermal cycling in humid environments.
-
Electrical Integrity: Audit the driver for Total Harmonic Distortion (THD < 10%) and Power Factor (PF > 0.95) to prevent grid pollution.
-
Photometric Truth: Cross-reference the sample’s output against LM-79 reports to confirm claimed efficacy (up to 185 lm/W).
-
Emergency Reliability: Discharge LiFePO4 batteries for the full mandatory 3-hour duration to verify capacity and BMS safety logic.
Phase 1: Preparation and Safety Protocols
Essential Sourcing and Testing Infrastructure
A technical evaluation cannot be performed with the naked eye alone. To properly test an LED sample, you require a calibrated toolkit: a Digital Multimeter for voltage verification, a Flicker Meter (IEEE 1789 standard), an Insulation Resistance Tester, and a handheld Lux Meter for basic photometric checks. For high-end audits, access to an Integrating Sphere is ideal to verify the Color Rendering Index (CRI) and MacAdam Ellipse (SDCM) consistency.
Documentary Due Diligence
Before touching the hardware, audit the technical file. A reliable leading lighting manufacturer should provide:
-
LM-80 / TM-21 Reports: Proving the LED chip’s lumen maintenance over 50,000+ hours.
-
IES / LDT Files: For architectural Dialux simulations.
-
TUV / ENEC Certificates: Third-party verification of safety and driver quality.
|
Evaluation Step |
Technical Goal |
Required Tool |
|---|---|---|
|
Visual Audit |
Material Finish & Seal Check |
Magnifying Lamp / 500 Lux Ambient |
|
Safety Check |
Insulation Resistance (Hi-Pot) |
Dielectric Strength Tester |
|
Output Check |
Luminous Efficacy (lm/W) |
Lux Meter / Power Analyzer |
|
Durability Check |
Impact Protection (IK) |
Pendulum Hammer (IK10 rated) |
Phase 2: Physical and Mechanical Inspection
Material Science: AL6063 vs. Plastic
The greatest enemy of an LED is heat. In industrial settings, “Full Plastic” tri-proof fixtures act as insulators, trapping heat and cooking the electronics. During your audit, check if the sample utilizes an AL6063-T5 aluminum substrate. Aluminum conducts heat up to 40% more effectively than standard plastic-backed LED strips. This engineering choice, found in Fanxstar’s Trilamp A1 series, ensures an L80/B10 rated life of 74,000 hours, whereas generic plastic alternatives often fail within two years.
Sealing Mechanics and the “Vacuum Suction” Test
In wash-down areas or sub-zero environments, fixtures experience pressure differentials. As the fixture cools, it creates a vacuum that can “inhale” moisture through microscopic gaps in the end-caps or cable glands.
-
The Gasket Audit: Verify the use of foamed-in-place silicone gaskets. Unlike cheap rubber strips, foamed silicone maintains its elasticity from -40C to +60C.
-
Cable Glands: Ensure the glands are SUS 316L stainless steel for coastal applications to prevent salt-air corrosion.
“A tri-proof light is only as strong as its weakest gasket. If you can’t trust the seal, you can’t trust the light.”
Phase 3: Electrical Safety and Performance Verification
Surge Protection and Grid Stability
Industrial grids are “dirty,” filled with voltage spikes from large motors and machinery. A professional sample must include an isolated driver with at least 4kV to 6kV surge protection. During your test, verify the Power Factor (PF). A PF of < 0.90 is a sign of poor driver engineering that will lead to higher utility costs and increased Total Harmonic Distortion (THD) in your building’s electrical system.
Flicker Index and Biological Safety (PstLM / SVM)
Under new EU 2019/2020 regulations, flicker is no longer just a comfort issue; it is a compliance requirement. High-quality samples must achieve a PstLM ≤ 1.0 and an SVM ≤ 0.4. This ensures the light is flicker-free, preventing the headaches and visual fatigue that reduce productivity in modern office and educational environments.
|
Electrical Parameter |
Technical Benchmark |
Pass/Fail Threshold |
|---|---|---|
|
Power Factor (PF) |
Real Power / Apparent Power |
≥ 0.95 |
|
THD |
Harmonic Distortion |
≤ 10% |
|
Efficacy |
Lumens / Watt |
≥ 140 lm/W (Industrial) |
|
Inrush Current |
Startup Surge |
≤ 60A per 4ft fixture |
Phase 4: Photometric Accuracy and Color Consistency
CRI and SDCM (MacAdam Ellipse)
In retail and architectural spaces, color accuracy is paramount. An LED tri-proof light should maintain a Color Rendering Index (CRI) of Ra > 80 (or Ra > 90 for food zones). More importantly, check the SDCM (Standard Deviation of Color Matching). A reliable supplier ensures “3-Step MacAdam” consistency, meaning that even across a 100-meter continuous line of light, the color temperature is identical from the first fixture to the last. Poor-quality samples often show a “patchwork” of yellow and blue hues across a single run.
Phase 5: Smart Controls and Emergency Resilience
In 2026, a light fixture is a “smart node.” If your project utilizes DALI-2 or Bluetooth Mesh, the sample must be tested for protocol response.
-
Sensor Sensitivity: For energy saving LED battens, walk-test the microwave sensor to ensure it doesn’t trigger through concrete walls but responds instantly to human movement at 10-meter heights.
-
Daylight Harvesting: Verify the “Dual-PD” logic. The light should dim automatically as natural sunlight enters the space, saving up to 70% in energy overhead.
-
Emergency Duration: Perform a 100% discharge test. The LiFePO4 battery management system (BMS) must maintain the light for the mandatory 3-hour backup period (per EN 60598-2-22) without overheating.
|
Smart Feature |
Verification Test |
Operational Goal |
|---|---|---|
|
RF Grouping |
Group Trigger Simulation |
“Follow-Me” lighting path safety |
|
Dimmability |
0.01% – 100% Sweep |
Seamless transitions without flicker |
|
Self-Diagnostic |
Fault Injection Test |
Auto-reporting of driver failure |
|
Battery Health |
Thermal NTC Check |
Safe charging in high-heat zones |
Regulatory Compliance: Markings Audit
A sample’s label is a legal document. To ensure safety in food safety and pharmaceutical areas, the fixture must carry the **NSF / HACCP** mark. For the European market, the UKCA and CE marks are baseline requirements. Ensure that the manufacturer’s name on the label matches the name on the TUV/UL technical file. “White-label” products without traceable manufacturing files represent a massive legal risk for the importer.
Conclusion: Building a Culture of Technical Due Diligence
Testing an LED tri-proof light sample is a bridge between engineering theory and operational reality. By prioritizing AL6063-T5 aluminum thermal paths, verifying IP66/IK10 ratings, and auditing the driver’s THD and PF performance, project managers can safeguard their infrastructure against the most aggressive environments. Manufacturers like Fanxstar provide the technical transparency—from LM-80 reports to 3D layouts—required for high-stakes subway and industrial projects. Don’t settle for “good enough” in a sample; demand documented excellence to ensure a safe, efficient, and highly profitable future for your facility.
FAQ
How do I test the ‘IP66’ rating without a lab?
While a full lab is best, you can perform a “Drip Loop” and pressure-wash test. Mount the fixture and spray it with a high-pressure hose for 3 minutes from all angles. Dry the exterior, open the housing, and look for even a single drop of water inside. If found, the gasket engineering has failed.
What is the most common reason an LED sample fails?
Thermal management. Many manufacturers “over-drive” their chips to reach a high brightness for the sample, but without a thick aluminum heat sink, the light will dim significantly within 500 hours. A 48-hour “Burn-In” test at 45’C is the best way to catch this.
Does the driver brand really matter?
Absolutely. The driver is the #1 failure point in 90% of LED projects. A sample utilizing a Tier-1 driver (Philips, Osram, Lifud) is the only way to guarantee the 5-to-10-year warranty usually required for industrial sites.
Why should I test for ‘Flicker’?
In environments with rotating machinery (saws, lathes), flicker can cause the “stroboscopic effect,” where a moving part appears stationary. This is a critical safety risk. High-quality drivers keep flicker indices below 0.01.
What is ‘IK10’ and how can I verify it?
IK10 is the highest standard for impact protection. You can verify it by dropping a 5kg weight from 40cm onto the lens. If the lens shatters or the fixture loses its waterproof seal, it does not meet the IK10 standard.